<-
Emoji Boom: Explosive Confetti Animations in SwiftUI

Emoji Boom: Explosive Confetti Animations in SwiftUI
Hello there, I'm Vini.
I have been working with mobile development for the past 11 years. For as long as I can remember, I have enjoyed creating products that are meaningful and enjoyable to users. When coding an app, I don’t just focus on its components—what excites me is delivering an enjoyable experience to the users as a whole.
For example, TMRW, a social payment app, is more than just handling money transactions for me. It's about how the users feel throughout the process, ensuring they never get bored. I always aim to take it a step further by introducing small fun aspects that increase engagement—like animations.
Recently, I added a confetti explosion to the app whenever users react with emojis, simulating a celebration. Confetti exploding, emojis flying, and I almost added Nicolas Cage's face to join the party! It’s just an animation, but it makes interactions more fun and lively each time someone reacts.
It's all about enhancing user experiences and impressing them, even in a payment app. Here’s how I did it...

What Are We Building?
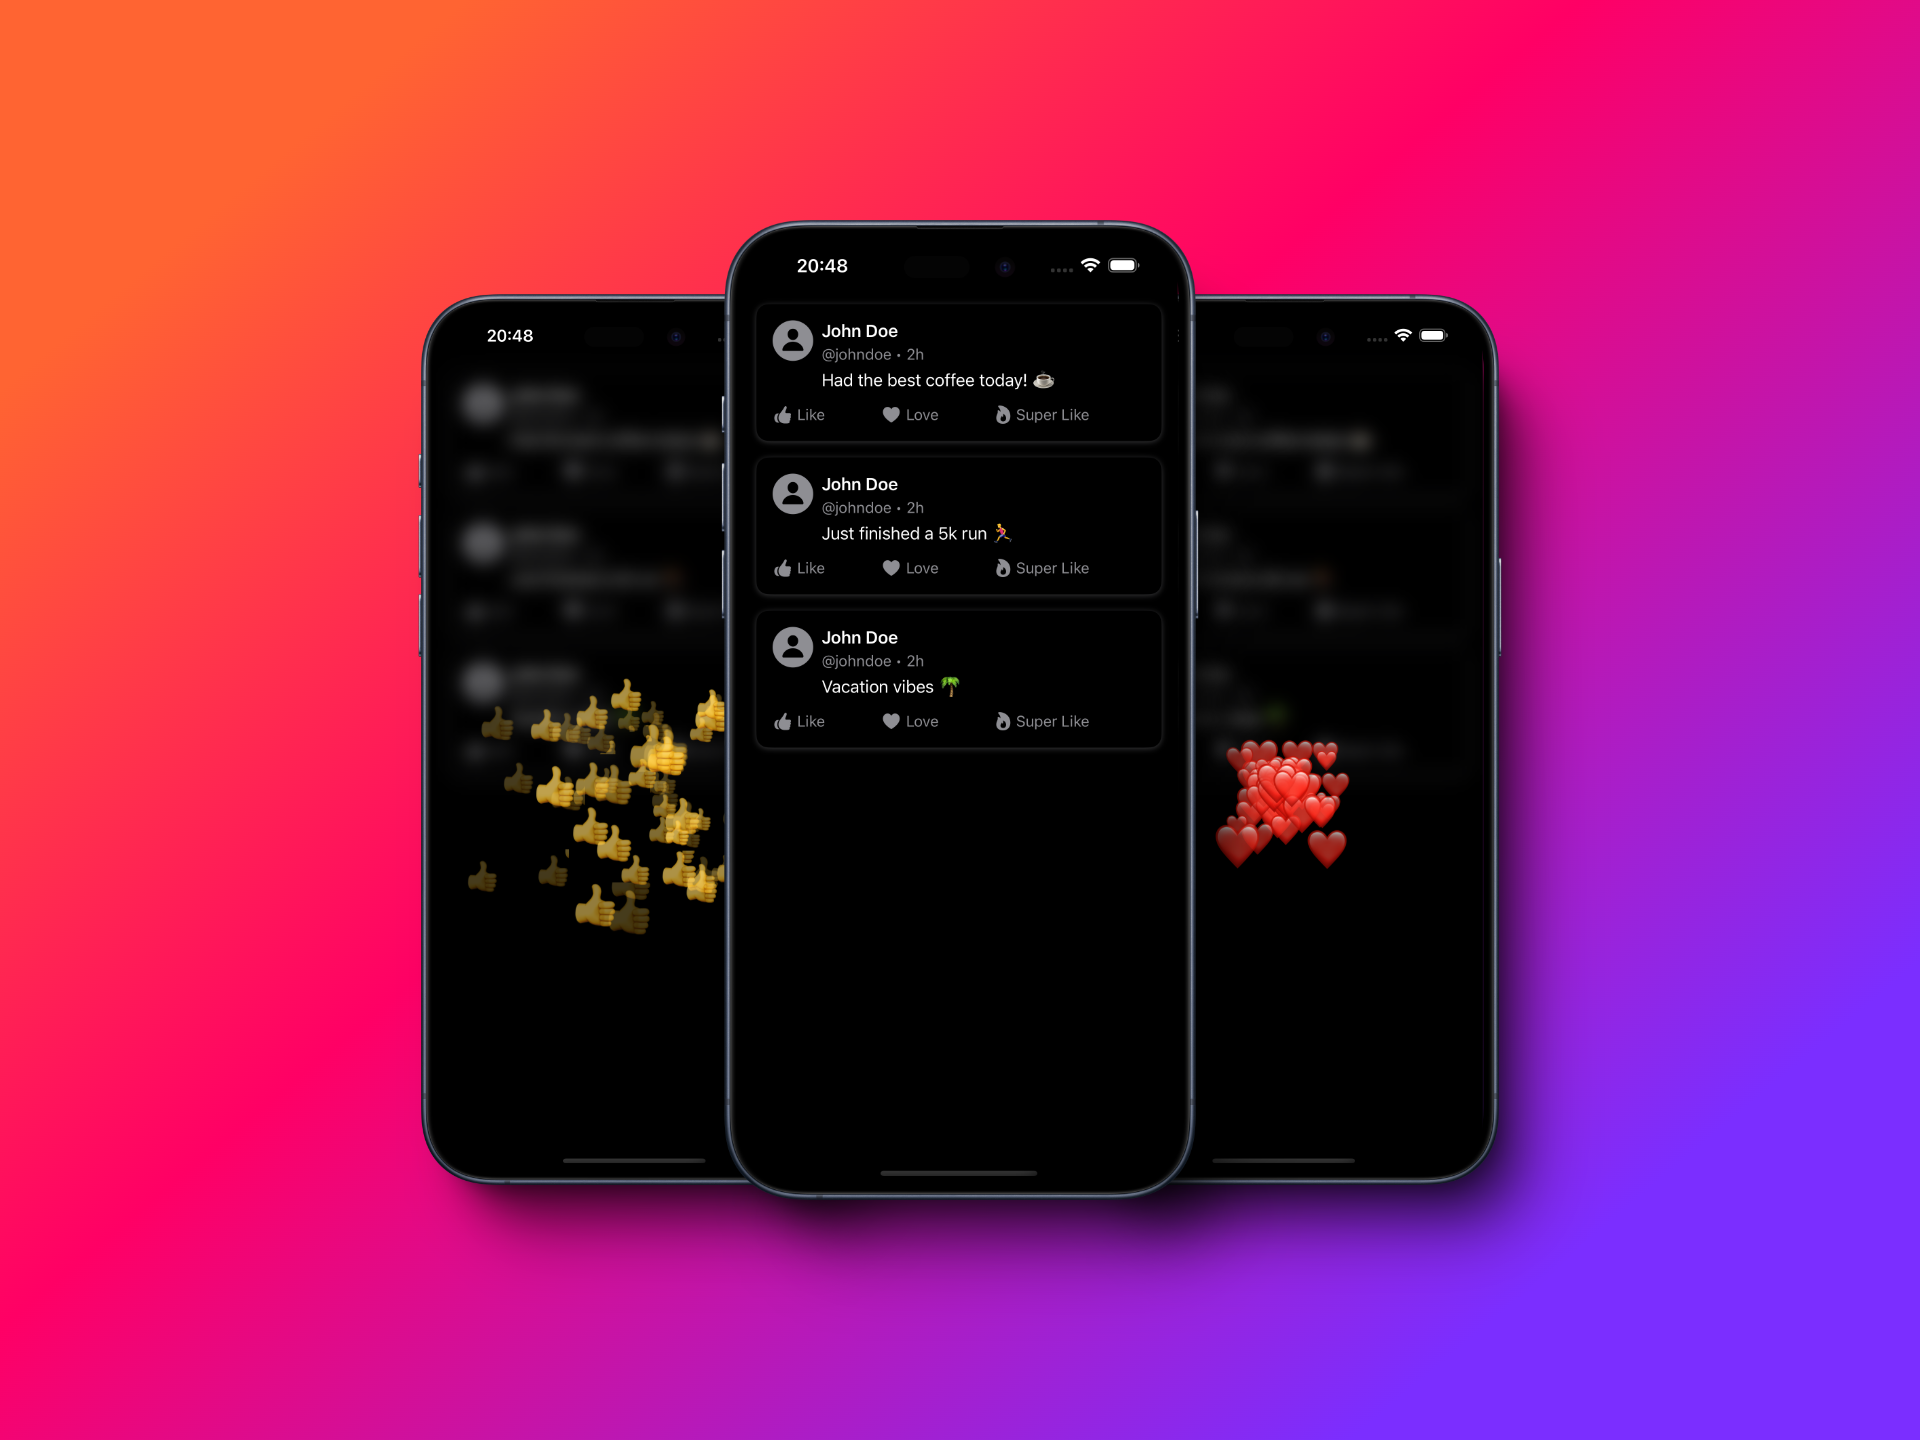
Before jumping into the code, here’s a quick preview of what we’ll be building:
📱 A simple post feed with interactive reaction buttons.
🎉 Emoji explosions that animate dynamically when tapped.
Project Structure Overview
This is a simple project focused on demonstrating the animation, so the structure is straightforward.
├── EmojiExplosion/
│   ├── Assets.xcassets
│   ├── EmojiExplosionApp.swift
│   ├── Models
│   │   ├── Emoji.swift
│   │   └── Post.swift
│   └── Views
│       ├── EmojiExplosionView.swift
│       ├── FeedView.swift
│       └── PostView.swift
Nothing fancy, but it keeps things organized and easy to follow.
Step 1: Define the Post Model
File: Models/Post.swift
Since we're building a simple social feed, let's define a Post object to represent each post.
import Foundation

struct Post: Identifiable {
    let id: Int
    let content: String
}
Step 2: Create the Post Card Layout
File: Views/PostView.swift
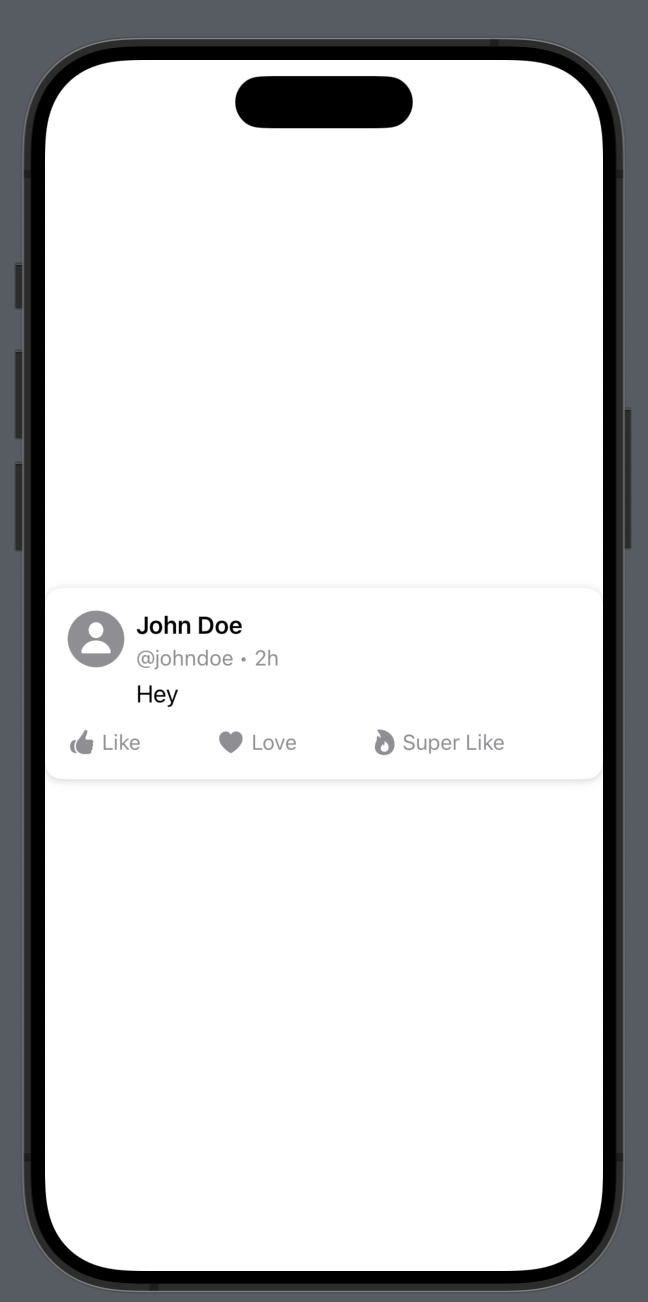
This step creates a basic layout for the post card. We’ll include a profile picture, name, handle, time, post content, and reaction buttons—all mocked for simplicity.
We break down the components for better readability, and the PostView will trigger the emoji explosion when a reaction button is pressed.

import SwiftUI

struct PostView: View {
    let post: Post
    let onReaction: (String) -> Void

    var body: some View {
        VStack(alignment: .leading, spacing: 8) {
            profileSection
            actionButtons
        }
        .padding()
        .background(Color(.systemBackground))
        .cornerRadius(12)
        .shadow(color: Color(.systemGray4), radius: 3, x: 0, y: 1)
    }

    private var profileSection: some View {
        HStack(alignment: .top) {
            Image(systemName: "person.circle.fill")
                .resizable()
                .frame(width: 40, height: 40)
                .foregroundColor(.gray)

            VStack(alignment: .leading, spacing: 4) {
                Text("John Doe")
                    .font(.headline)
                Text("@johndoe • 2h")
                    .font(.subheadline)
                    .foregroundColor(.gray)

                Text(post.content)
                    .font(.body)
                    .padding(.top, 2)
            }
        }
    }

    private var actionButtons: some View {
        HStack {
            ForEach(reactionData, id: \.emoji) { reaction in
                reactionButton(
                    emoji: reaction.emoji,
                    label: reaction.label,
                    systemImage: reaction.systemImage
                )
                Spacer()
            }
        }
        .padding(.top, 6)
        .foregroundColor(.gray)
    }

    private func reactionButton(emoji: String, label: String, systemImage: String) -> some View {
        Button(action: {
            onReaction(emoji)
        }) {
            HStack(spacing: 4) {
                Image(systemName: systemImage)
                Text(label)
                    .font(.subheadline)
            }
        }
    }

    private var reactionData: [(emoji: String, label: String, systemImage: String)] {
        [
            (emoji: "👍", label: "Like", systemImage: "hand.thumbsup.fill"),
            (emoji: "❤️", label: "Love", systemImage: "heart.fill"),
            (emoji: "🔥", label: "Super Like", systemImage: "flame.fill"),
        ]
    }
}

#Preview {
    PostView(post: .init(id: 0, content: "Hey")) { _ in
    }
}
Step 3: Setting Up the Feed
File: Views/FeedView.swift
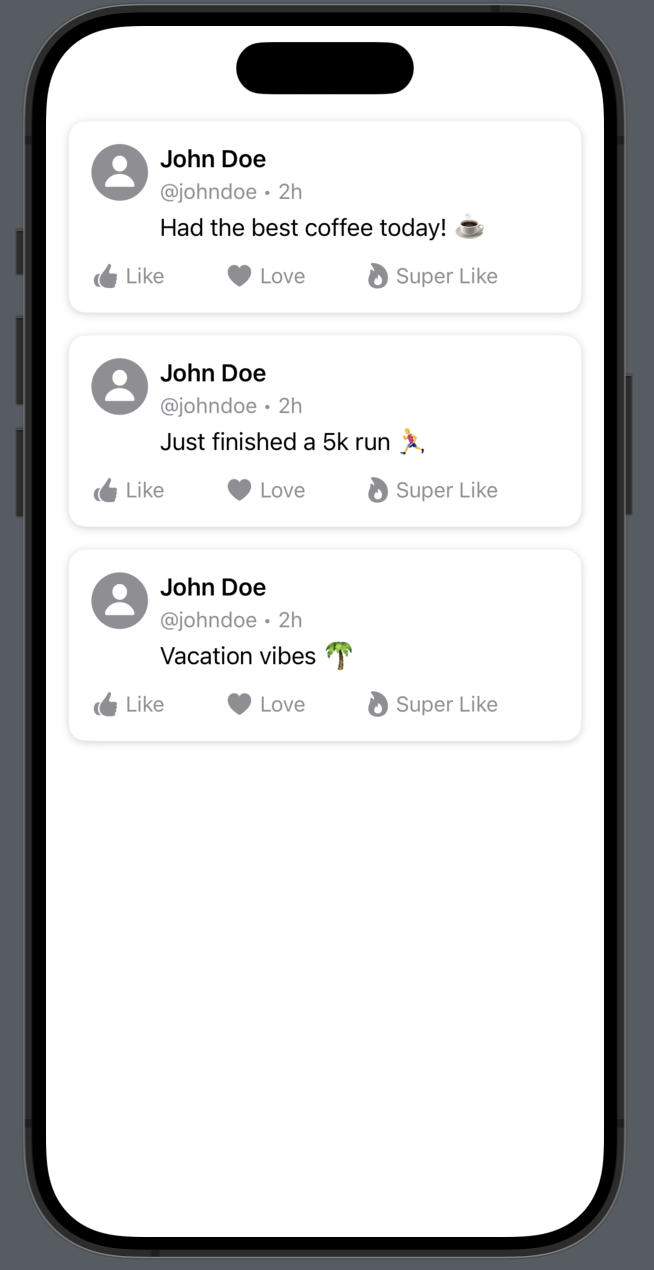
This file is responsible for displaying the feed. It lists the posts and triggers the emoji explosion when a reaction is tapped. The actual emoji explosion will also happen here.

import SwiftUI struct FeedView: View { let posts = [ Post(id: 1, content: "Had the best coffee today! ☕️"), Post(id: 2, content: "Just finished a 5k run 🏃♂️"), Post(id: 3, content: "Vacation vibes 🌴"), ] var body: some View { ZStack { ScrollView { ForEach(posts) { post in PostView( post: post, onReaction: { emoji in // Trigger the emoji explosion } ) .padding(.horizontal) .padding(.top, 8) } } } } } #Preview { FeedView() }
Step 4: Defining the Emoji Model
File: Models/Emoji.swift
The Emoji model represents each individual emoji in the explosion. It contains the emoji’s symbol, position, scale, opacity, and animation properties.
import SwiftUI

struct Emoji: Identifiable, Equatable {
    let id = UUID()
    var symbol: String
    var position: CGPoint
    var scale: CGFloat
    var opacity: Double
    var animation: Animation
}
Step 5: Creating the Emoji Explosion View
File: Views/EmojiExplosionView.swift
Now, let's create the animation that makes the emojis explode on the screen. Here’s how it works step by step.
5.1: The Structure of EmojiExplosionView
We define the EmojiExplosionView, which holds and animates the emojis.
import SwiftUI

public struct EmojiExplosionView: View {
    public let emoji: String
    @State private var emojis: [Emoji] = []

    public init(emoji: String) {
        self.emoji = emoji
    }
Breakdown:
- Public
emojivariable: The emoji that will explode is passed when the view is initialized. @State emojis: This holds an array ofEmojiobjects representing each animated piece of the explosion.
5.2: Displaying the Emojis
Each emoji is shown in a random size and position within a ZStack, animated as it explodes across the screen.
    public var body: some View {
        ZStack {
            ForEach(emojis) { emojiConfetti in
                Text(emojiConfetti.symbol)
                    .font(.system(size: CGFloat.random(in: 20 ... 50))) // Random font size for variety
                    .position(emojiConfetti.position) // Position on the screen
                    .scaleEffect(emojiConfetti.scale) // Random scale effect to simulate distance
                    .opacity(emojiConfetti.opacity) // Opacity for fading effect
                    .animation(emojiConfetti.animation, value: emojis) // Apply animation
            }
        }
        .onAppear {
            withAnimation {
                explodeConfetti() // Call explosion animation when view appears
            }
        }
    }
Breakdown:
- Random font size and scale give the illusion of depth.
- Opacity fades the emojis out during the explosion.
- The animation is triggered when the view appears.
5.3: Exploding the Confetti
The explodeConfetti function generates 50 emojis with random positions and scales, sending them flying across the screen. Each emoji animates with an ease-out effect, making the explosion look smooth.
      private func explodeConfetti() {
        // Center of the screen
        let centerX = UIScreen.main.bounds.width / 2
        let centerY = UIScreen.main.bounds.height / 2

		 // Generating Emoji Confetti
        for _ in 0 ..< 50 {
            // Random X and Y
            let randomX = CGFloat.random(in: -200 ... 200)
            let randomY = CGFloat.random(in: -200 ... 200)

            // Initial and Target Positions
            let position = CGPoint(x: centerX, y: centerY)
            let targetPosition = CGPoint(x: centerX + randomX, y: centerY + randomY)

            //	Ease-Out Animation
            let emojiConfetti = Emoji(
                symbol: emoji,
                position: position,
                scale: 1.0,
                opacity: 1.0,
                animation: .easeOut(duration: 1)
                    .delay(Double.random(in: 0 ... 0.2))
            )

            emojis.append(emojiConfetti)

			  // Animating the Explosion
            DispatchQueue.main.asyncAfter(deadline: .now() + 0.1) {
                if let index = emojis.firstIndex(of: emojiConfetti) {
                    // Update Properties
                    emojis[index].position = targetPosition
                    emojis[index].scale = CGFloat.random(in: 0.5 ... 1.5)
                    emojis[index].opacity = 0
                }
            }
        }

		// Remove Emojis
        DispatchQueue.main.asyncAfter(deadline: .now() + 2) {
            emojis.removeAll()
        }
    }
Breakdown:
- Center of the Screen: We define the center of the screen (
centerX,centerY), where the explosion will originate. - Emoji Confetti: We create 50 pieces of confetti, each with random properties like their target position and delay.
- Random X and Y: Each emoji is assigned a random direction (
randomX,randomY) within a range of -200 to 200 points. - Initial and Target Positions: The emojis start at the center and move toward the randomly generated target positions.
- Ease-Out Animation: The emojis will fly out quickly and then decelerate as they reach their target.
- Animating the Explosion: After a short delay, we update each emoji’s properties to trigger the animation, moving the emojis from their initial position to the target position and fading them out.
- Update Properties: We modify the position, scale, and opacity of each emoji to animate them.
- Remove Emojis: After the animation ends (2 seconds later), we remove the emojis from the screen.
Step 6: Integrating the Emoji Effect with the Feed
File: Views/FeedView.swift
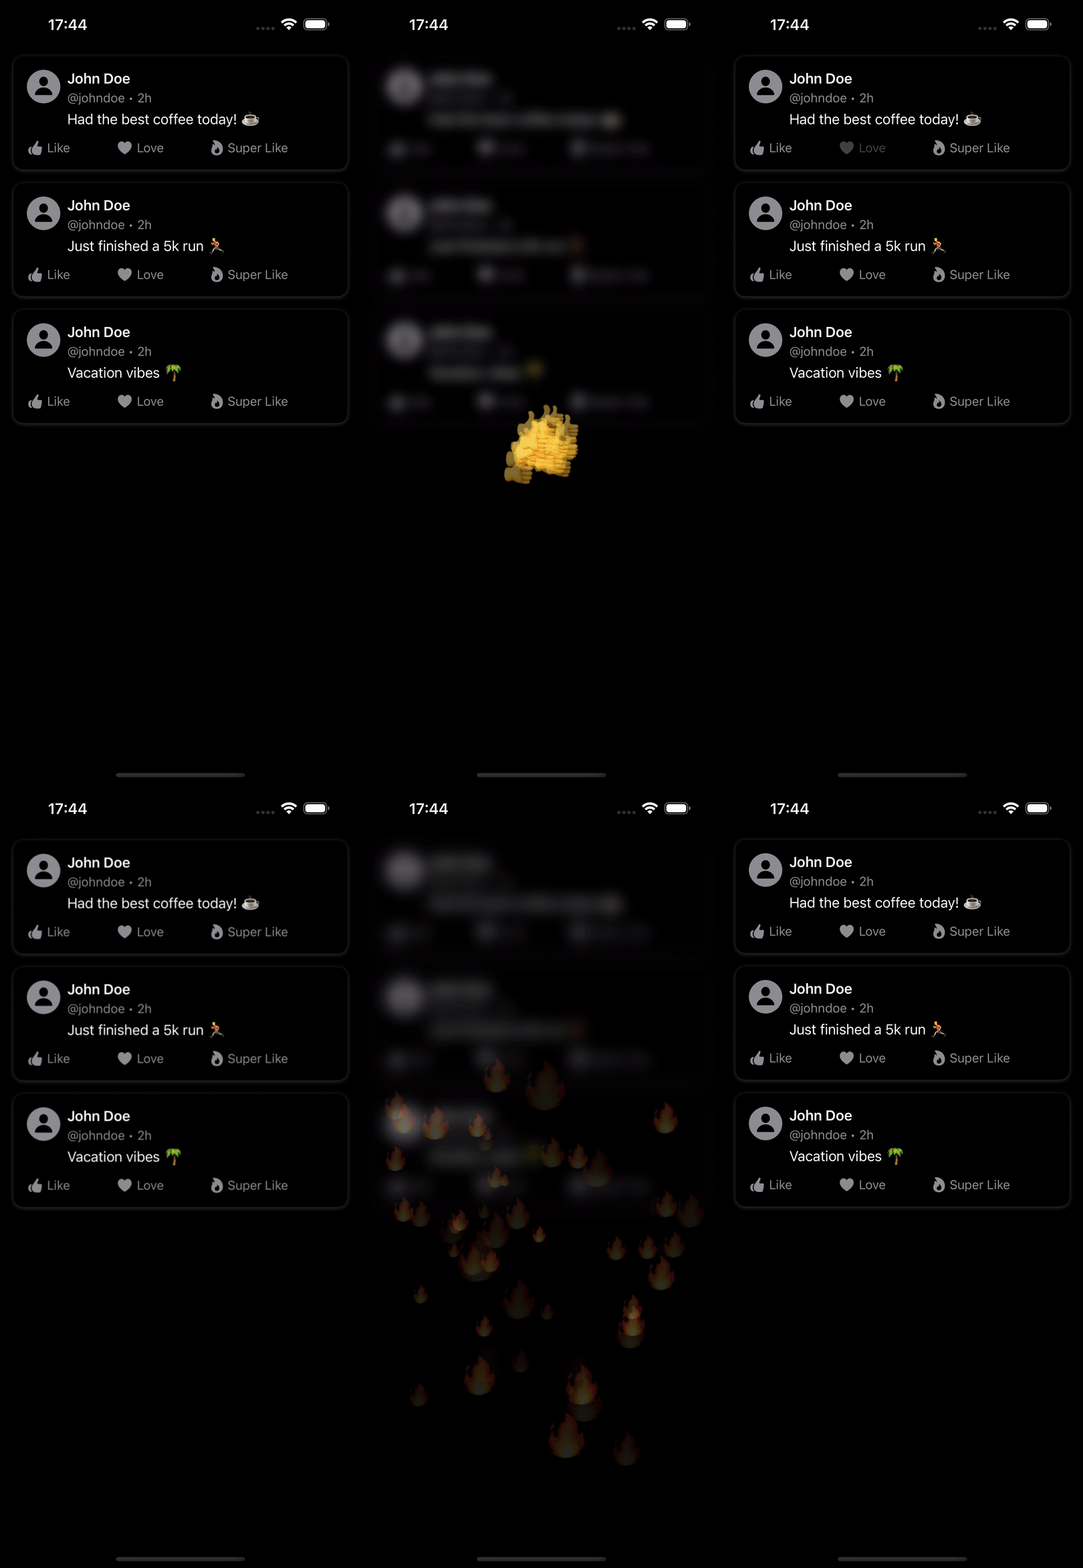
Now that we have the feed, post model, and emoji explosion view, it’s time to put them together. Each post in the feed will trigger the explosion when a reaction button is pressed.
// // FeedView.swift // EmojiExplosion // // Created by Vinícius Salmont on 07/09/24. // import SwiftUI struct FeedView: View { // State properties @State private var selectedEmoji = "" @State private var showExplosion = false let posts = [ Post(id: 1, content: "Had the best coffee today! ☕️"), Post(id: 2, content: "Just finished a 5k run 🏃♂️"), Post(id: 3, content: "Vacation vibes 🌴"), ] var body: some View { ZStack { ScrollView { ForEach(posts) { post in PostView( post: post, onReaction: { emoji in // Set the new states selectedEmoji = emoji DispatchQueue.main.asyncAfter(deadline: .now() + 0.1) { showExplosion = true } } ) .disabled(showExplosion) // Disable the interaction .padding(.horizontal) .padding(.top, 8) } } .blur(radius: showExplosion ? 10 : 0) // Show blur // Show Emoji Explosion. if showExplosion { Color.black.opacity(0.001) .ignoresSafeArea() EmojiExplosionView(emoji: selectedEmoji) .transition(.opacity) .onAppear { DispatchQueue.main.asyncAfter(deadline: .now() + 1) { showExplosion = false } } } } .animation(.easeInOut, value: showExplosion) } } #Preview { FeedView() }
Breakdown:
- State properties: We manage the selected emoji and whether the explosion is active.
- Disable interaction: While the explosion is active, the feed interaction is disabled to avoid multiple triggers.
- Blur effect: A subtle blur is added to the background when the explosion occurs.
Conclusion

We’ve built a fun and simple emoji confetti explosion effect that enhances the user experience. It's a delightful addition to your app, making interactions more enjoyable.
Next up: Let's add haptics to enhance the experience even further!
Happy coding! 🎉
Vinícius Salmont
